How To Guides
Lettering for Lefties
Jul
Yes, lefties can also create the most beautiful lettering!
Are you a left-handed?
I have asked my friend, Kait, to help us through some of the lefty struggles you undoubtedly will meet, and how to deal with them. Get the answers you were looking for right now, from someone who knows your struggle!
Let me introduce you to my awesome left-handed friend, Kait!
I know there are a lot of lefties out there, and I get the question all the time. “Can I do lettering even though I am left handed?” Yes, you can! In fact there are a lot of recognized and admired left-handed letterers.
To help get you started I have asked my lovely friend, Kait (@wishjoyletters) to share some leftie grips and tips. If you have not seen Kait’s Instagram account yet, you really should. She makes some absolutely amazing lettering. Kait has been lettering since December 2016 and is practicing every day.
Above: Kait’s (@wishjoyletters) latest Instagram posts. Photos by: @wishjoyletters.
Without further ado, here are Kait’s grips and tips:
Smudges!
The biggest question I get is how I don’t smudge my lettering and people are always surprised by my answer, I do smudge! There is no foolproof way to letter as a lefty. There will always be smudges, bent bristles and much more every now and then, but there are a few tips and tricks I can give that will help you learn your own way of lettering as a lefty. Remember, every lefty is different, so you’ll need to play and practice to figure out what works best for you!
There will always be smudges, bent bristles and much more every now and then […]
– Kait @wishjoyletters
THe Different grips
Your grip is extremely important. Depending on what type of medium and tool I’m using, my grip changes. Here are the ways that I hold certain pens and brushes and why I’ve learned to hold them that way.
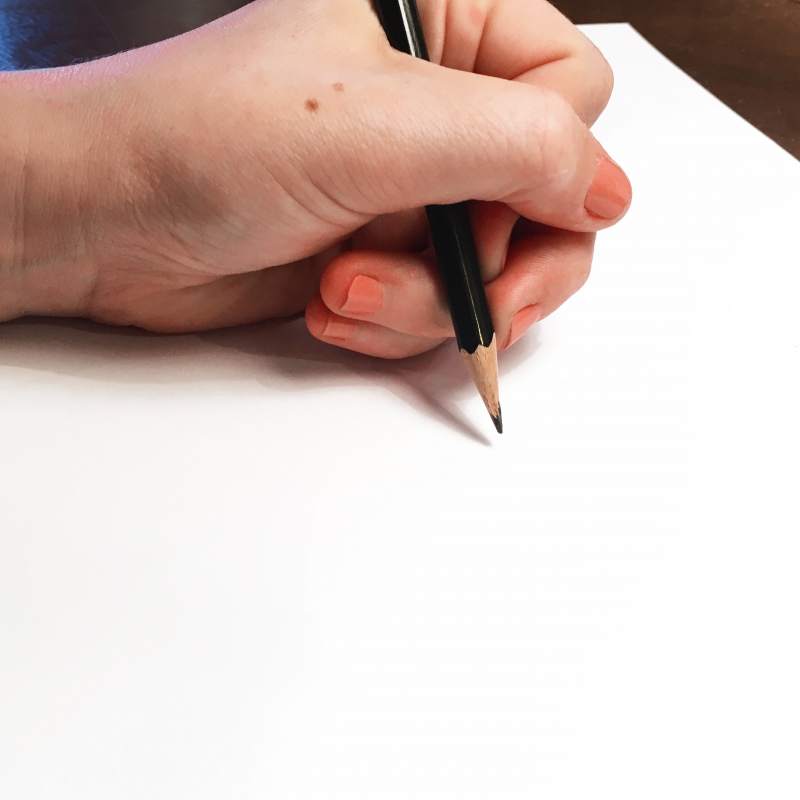
Pencil Grip
I want to show you how I normally hold a pencil or pen in everyday life. There’s no trick behind this grip, it’s just what I grew up learning. This grip leaves graphite and ink all along the side of my hand and will forever smudge all of my handwriting. But I want you to see my regular grip versus my others.
Small Brush Pen Grip
This pen was the first pen that I learned how to use as a letterer. I learned quick and fast that I would need to teach myself a different way to hold the pen after seeing the destruction my left hand was doing to everything I lettered. When I use this pen, I hold it the same as I would do with a pencil, but instead of resting my hand on the paper, I actually hover my hand while I letter. It’s definitely more difficult to do this and keep your hand steady, but in the end I don’t smudge nearly as much. Now, even though I hover my hand, I do need a little bit of stabilization. To get that, I use the side of my arm. I rest my arm on the paper and pick up my wrist in order to get a more stabilized hover.
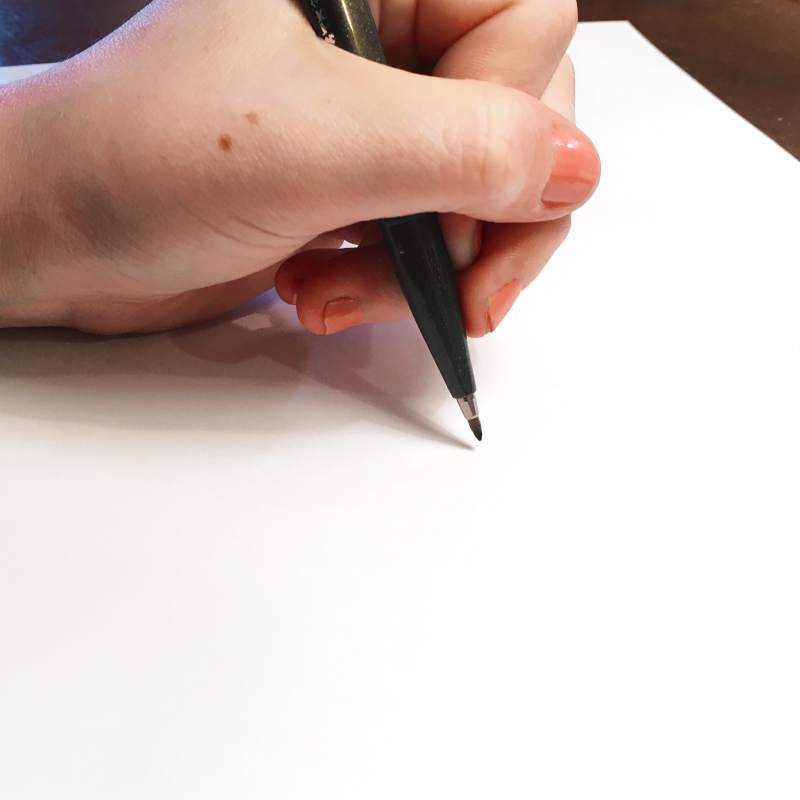
Holding a small Brush Pen. Here illustrated with a Pentel Touch Sign Brush Pen.
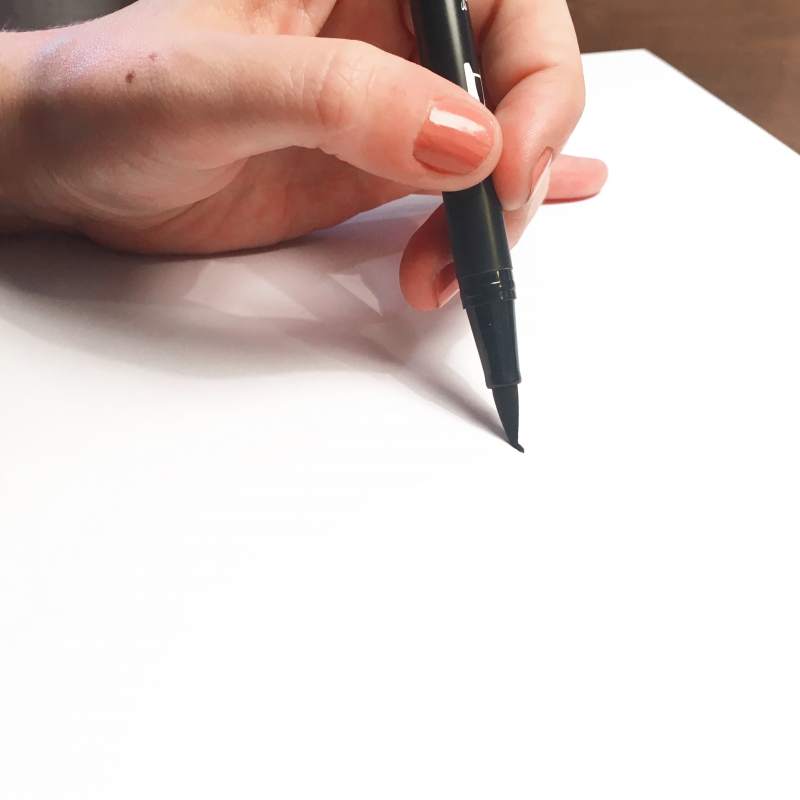
Holding a big Brush Pen. Here illustrated with a Tombow Dual Brush Pen.
Big Brush Pen Grip
Tombow. One of my nemesis. These pens are so thick and juicy and it’s a lefties worst nightmare. The grip that I most like when using tombows or any longer tipped brush pen is actually holding it closer to the middle of the pen. This allows me to use more of the side of the brush tip and get better leverage. I still do a slight hover with this pen but instead of just using my arm to stabilize, I also use my pinky. This is because 1) it allows me to put more pressure on the brush while still staying in control and 2) the juiciness of the pen. The lettering is still so wet for a long time after it’s down on the paper which in return gives me more of a chance to smudge. By using my pinky, I stay above the lettering while still giving the pen the pressure that it needs while staying in control.
Waterbrush Grip
Waterbrush. My absolute favorite tool to use, yet it comes with the most challenges. I have two grips when it comes to using waterbrushes. In both grips, I use my middle finger to rest the body of the brush on, my pointer finger to hold the top and my thumb to hold the side. Now, the difference between the two grips and when I use them depends on how long the piece is that I’m lettering. At the beginning of the piece, I hold the brush further back on the the body and use my pinky to stabilize my hand (like a do with a tombow). Once it gets to a point where my hand will be fully on top of the lettering, I switch my grip to where I’ll hold the brush close to the tip and go to the straight hover without using my pinky (like a Pentel Touch). I change between these two grips because of the time it takes for the watercolor to dry as well as the problem lefties have with brush bristles (which I’ll get into next!).
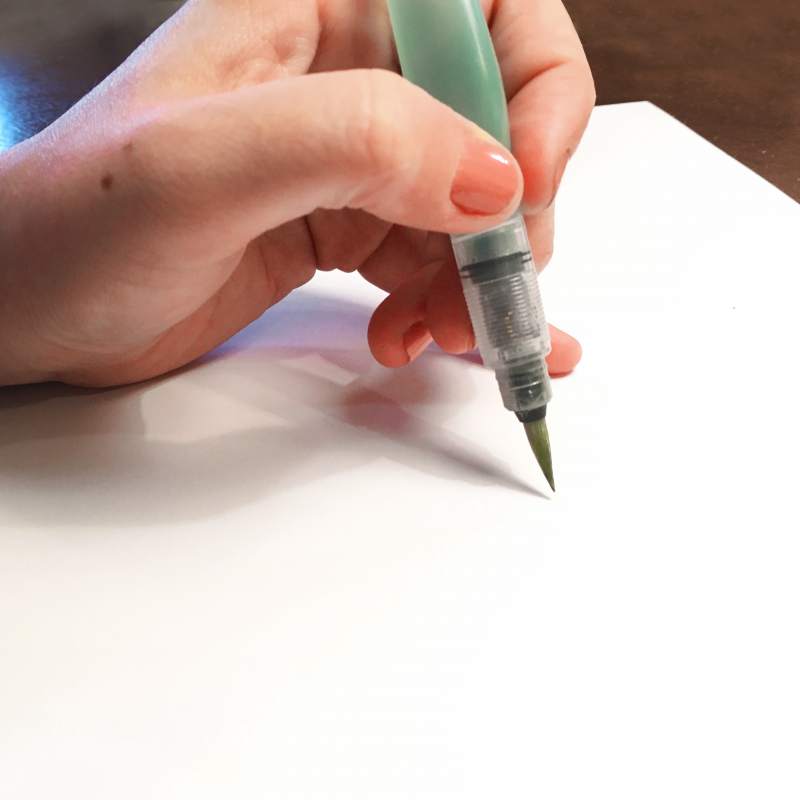


Holding a Water Brush. Here illustrated with a Pentel Aquash Brush Pen
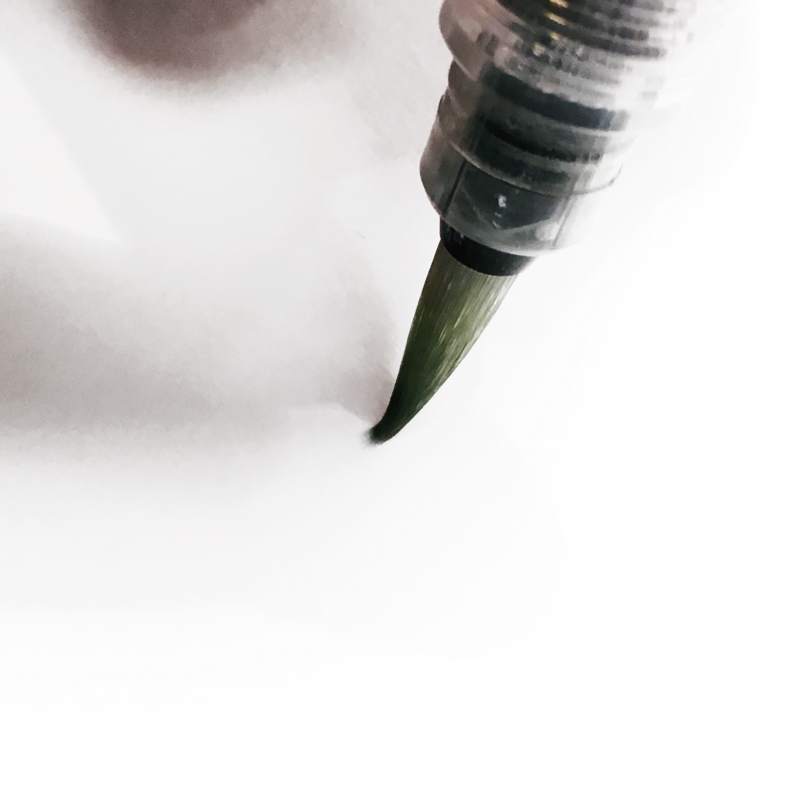
Pushing vs. Pulling
Us lefties have a real upward battle when it comes to using paint/water brushes. This is because we push the brushes bristles across the paper instead of being able to pull the bristles. When you are right-handed the brush follows behind your hand making it so the bristles never bend under or go a different direction than where your hand is going. When you are left-handed, it’s completely different. Most strokes aren’t completely affected by this, but one very important stroke is…the upstroke.

On a lefty upstroke, this 9 out of 10 times happens. The bristles end up bending backwards leaving splatters or unwanted thick upstrokes in its path. There are two tips that I could give for trying to minimize this weird bending, fraying, splattery mess.
On your upstrokes, move your brush so that the end of the brush is pointing away from you. This will allow the brush to follow your hand. The downside is that you will have to keep going back and forth on each stroke which gives a bigger possibility of smudging accidently. This method makes the bristles act most like what they would for right-handers on their upstrokes.
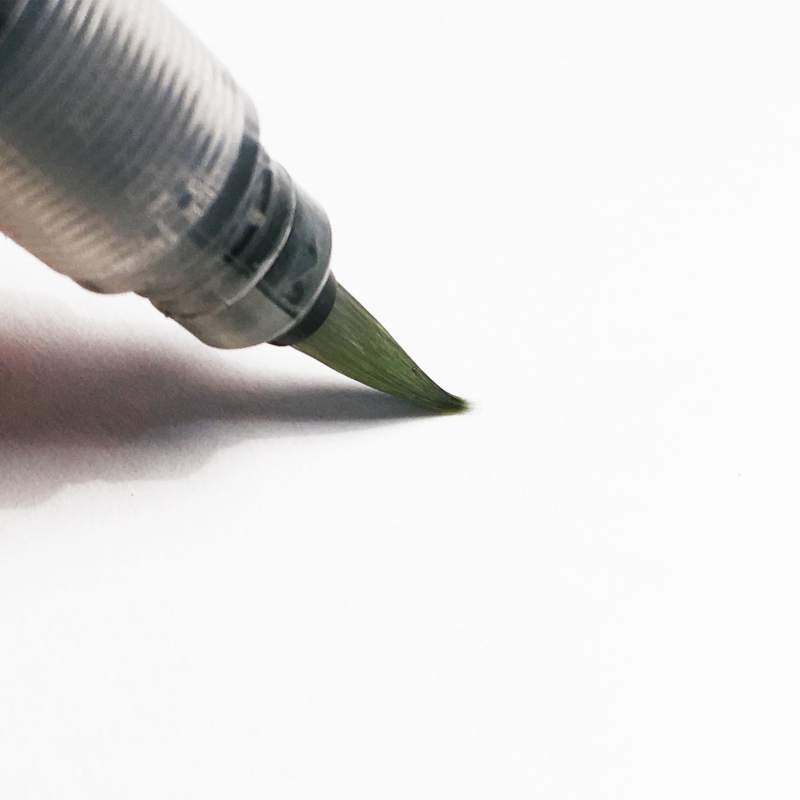
Replace your upstrokes with downstrokes. Say What?! Yup! You can achieve the right-handed goodness of no bent bristles by doing a downstroke for your upstrokes.
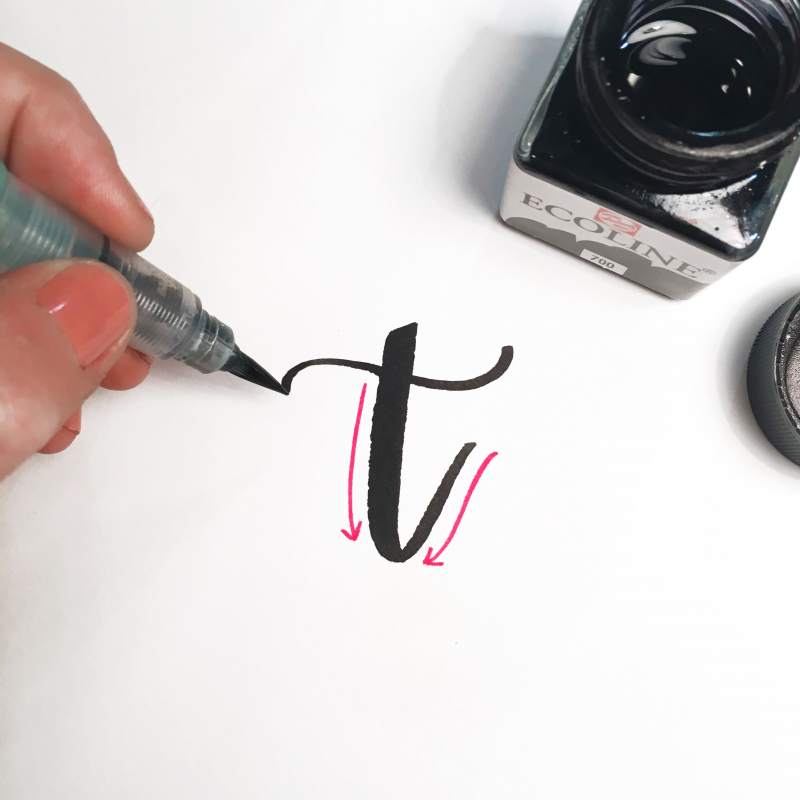
The only thing that you need to get use to is the pressure in which you put onto the brush. We have taught ourselves that upstrokes are thin and require little pressure and downstrokes are thick and require more pressure. The only difference with this method is that you will need to learn a new downstroke pressure that results in a thin line. I call this method, “reverse lefty lettering.”
Above video: Kait demonstraiting her “reverse lefty lettering” technique.
The Details
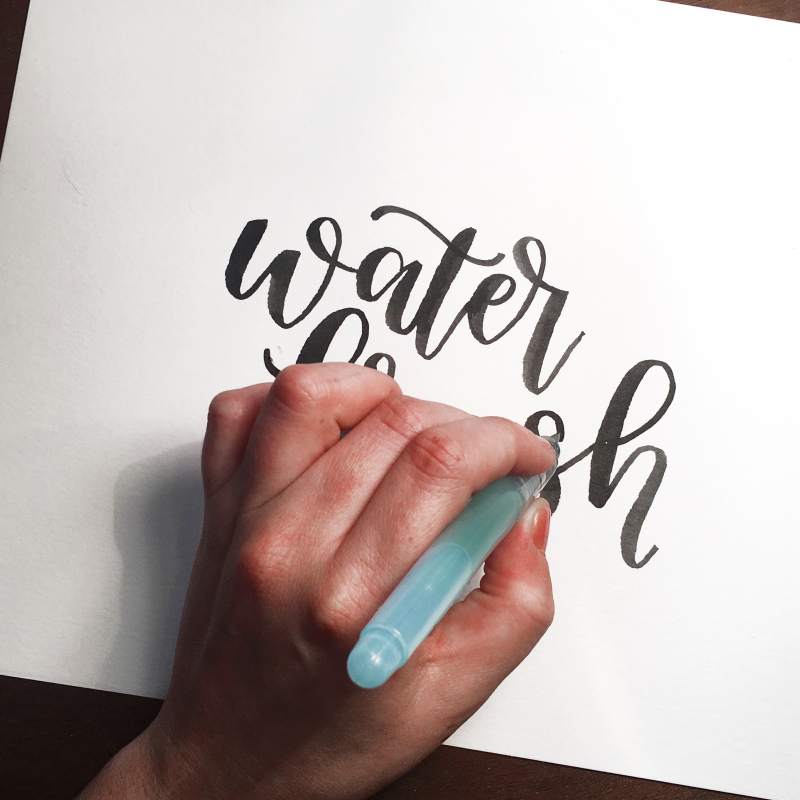
Whether you are adding shadows or accent details to your lettering, this step could actually be your nightmare. You are either putting down newly wet mediums or you are working on top of already wet ones. SMUDGE CENTRAL. So here are my tips for adding details to your lettering.
Work upside down
I do this all the time when adding shadows to my work. It gives me the same “pulling” motion that a righty gets when using a brush and you can work from the beginning of the word and make your way to the end. It is also much easier to control the pressure of the brush. This helps a lot when you add shadows since you need to vary your pressure during the stroke.
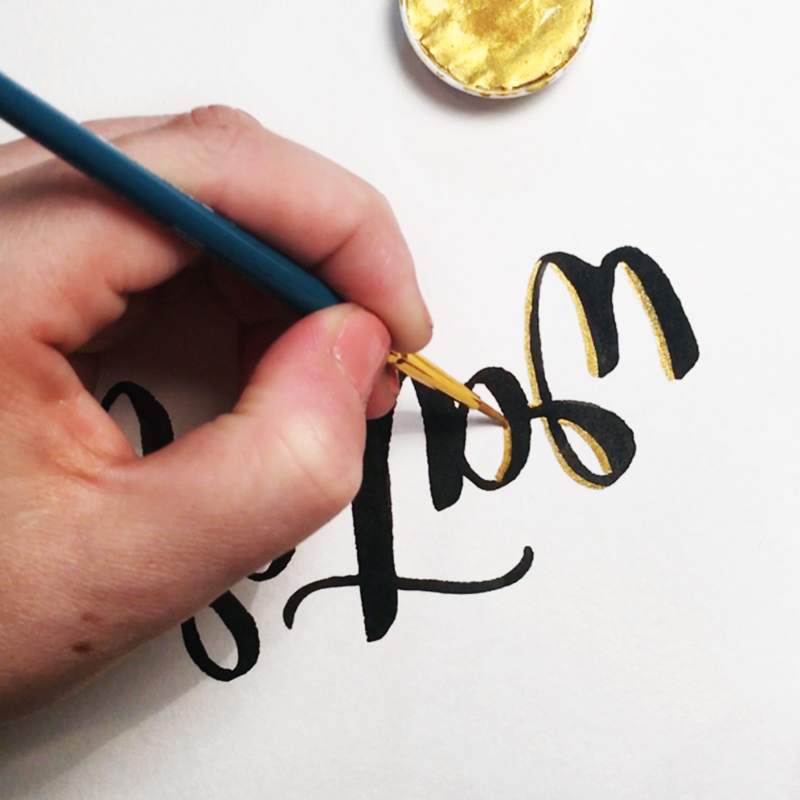
Work right to left
I love working right to left when adding details and using mediums like gel pens. These pens really pool up and take a while to fully dry when used, so there’s a major smudge possibility with them. But by working right to left, your hand never goes through or over the details you are adding!

Change your angle
Finally, whether you are an overwriter, underwriter, or you just plain write through everything, don’t be afraid to turn or angle your paper. I angle my paper anywhere between a 45–60 degree angle to my desk. This helps me see what I’m doing as well as giving my less of a chance that my hand will run through the ink or paint. Having this angle also helps so much when you want to video your work to show the community!
Don’t be afraid to turn or angle your paper.
– Kait @wishjoyletters
* * *
This article was created, with the help from Kait, all the tips and photos on this page were written and photographed by Kait @wishjoyletters. Please let us know what you think by leaving a comment below.