How to Make Invisible Lettering

Example of invisible lettering created with brush pens

Have you ever wanted to add a mysterious and artistic flair to your lettering projects, especially for Halloween? Invisible lettering, also known as ghost lettering, is a captivating technique that makes brush lettering appear to float or blend into your artwork. Inspired by the overwhelming response to my “Spooky” Instagram video, which was reshared and seen by millions, I created this comprehensive guide to help you master invisible lettering. Whether you’re a seasoned artist or a beginner, this step-by-step tutorial will equip you with the skills to create stunning invisible lettering effects perfect for Halloween—and fun all year long!

Spooky written with shading only by Winterbird on Instagram
Spooky invisible lettering style by Winterbird on Instagram

Materials You’ll Need

Before diving into the steps, gather the following materials:

  • Brush pen for the base layer (I recommend large brush pens for this project)
  • Smooth paper for your base layer
  • Shading pen of your choice
  • Paper for the top layer (thin paper makes it easier to see through)
  • Optional lightboard A flat, illuminated surface used by lettering artists for tracing and layering work. Learn more for better visibility

Step-by-Step Guide

Creating invisible lettering is easier than you might think. Follow these steps to achieve a ghostly yet elegant effect:

Step 1: Prepare your base layer

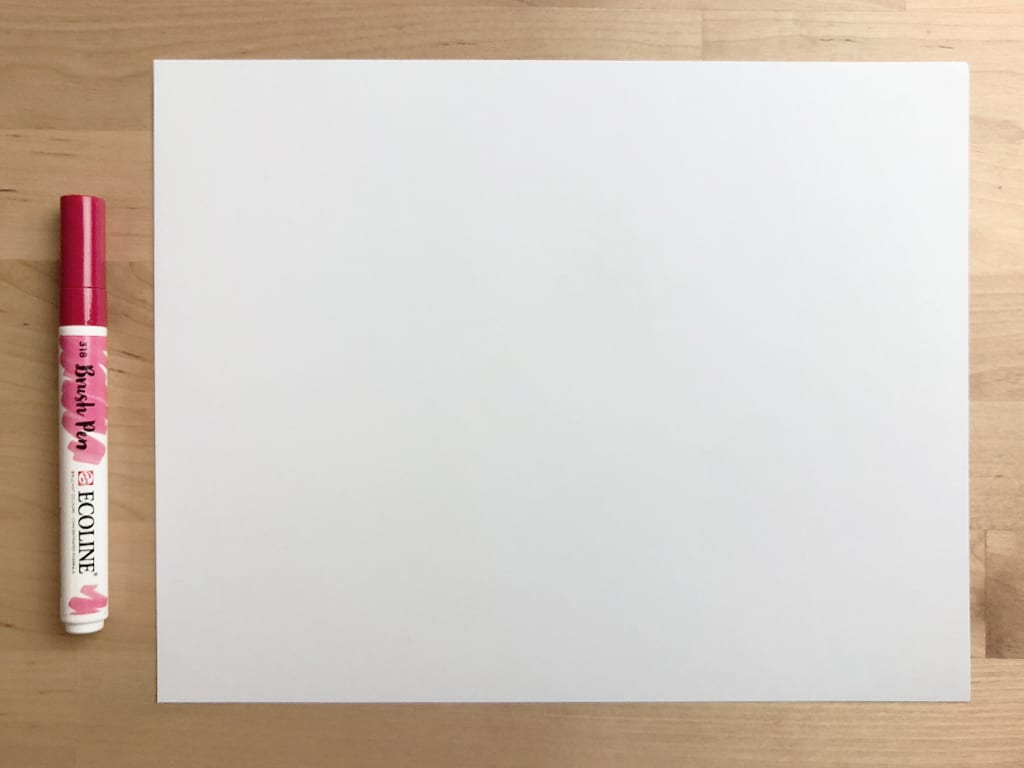
Select the brush pen(s) and paper you would like to work with for the base layer. In this guide, I am using Royal Talens Ecoline Brush Pens for their smooth and broad strokes, paired with HP Premium 32 paper for the foundation.

A Royal Talens Ecoline Brush Pen next to a blank sheet of HP Premium paper
Prepare with your choice of pen and paper for the foundation.

Tip: Invisible lettering is harder to read, a simple lettering style is therefore recommended.
Step 2: Create your lettering

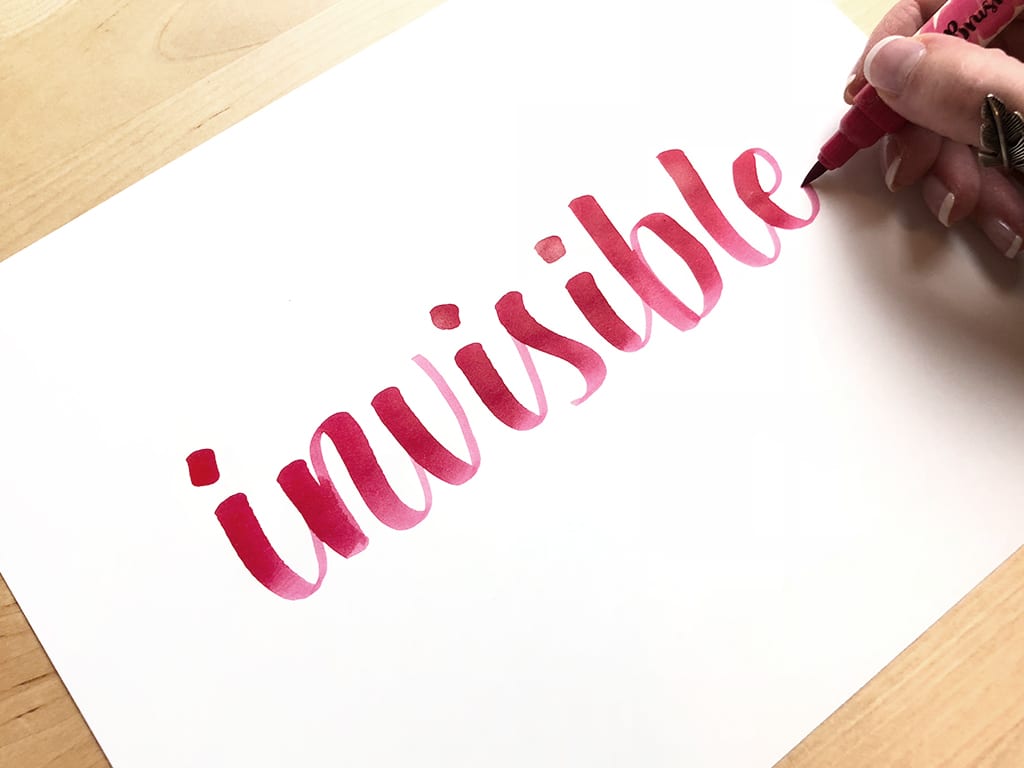
Using your primary brush pen, write out the word or phrase you want to create in invisible lettering style. Focus on clean, consistent strokes to ensure the shading process enhances your letters effectively.

the more complexity added to your lettering, the harder the result may be to read

The more complexity added to your lettering, the harder the result may be to read, therefore I recommend that you keep your lettering relatively simple. You may notice I am consciously using a very simple brush lettering style, and I am choosing to limit the amount of connecting strokes. The stroke that connect one letter to another in brush lettering. Learn more

The word invisible written out in brush lettering
Letter your word with your brush pen.

Step 3: Layer with the Second Sheet

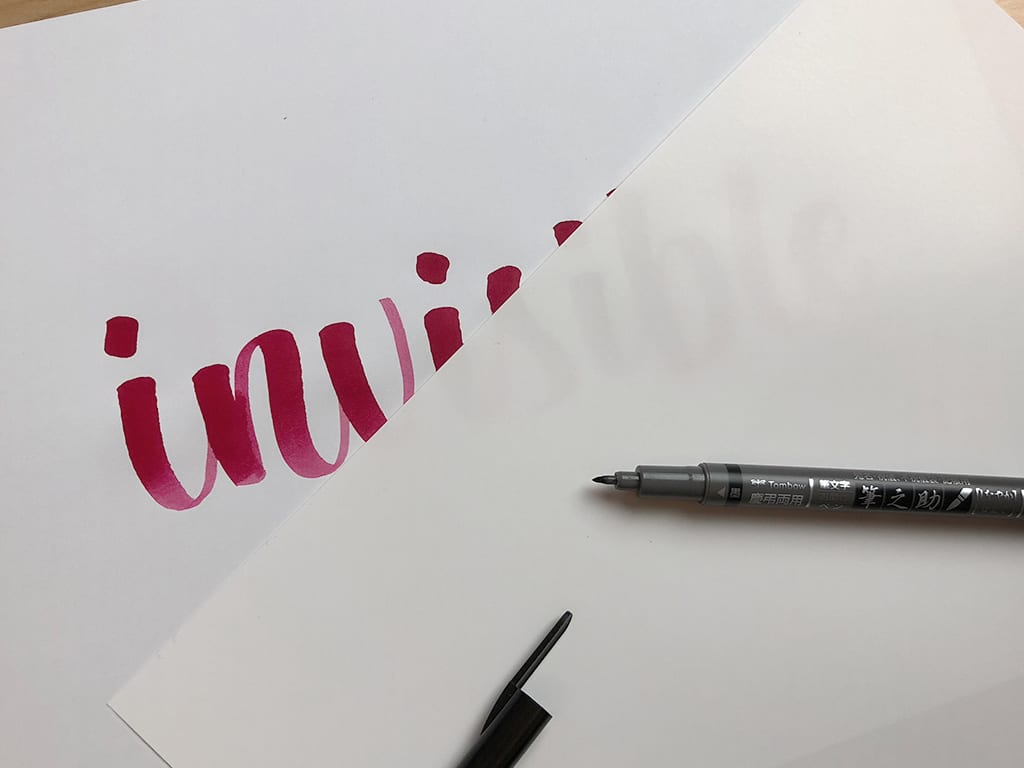
Place your second sheet of paper over your original design. Ensure the paper is well-lit so you can clearly see your lettering beneath. If you are unable to see through the top layer you can use a lightboard or sunlight to help, or you can use a thinner or translucent paper. This second layer will be used exclusively for shading, creating the invisible effect.

For my second sheet, I used Coated Paper which allowed me to see through the top layer, but also has an incredibly smooth surface which is so satisfying to letter on. For shading, I used the Tombow Fudenosuke Twin Brush Pen, my go-to for precise shading work.

A new sheet of paper layered on top of the base design
Layer a new sheet of paper on top of the base.

Step 4: Shading the Letters

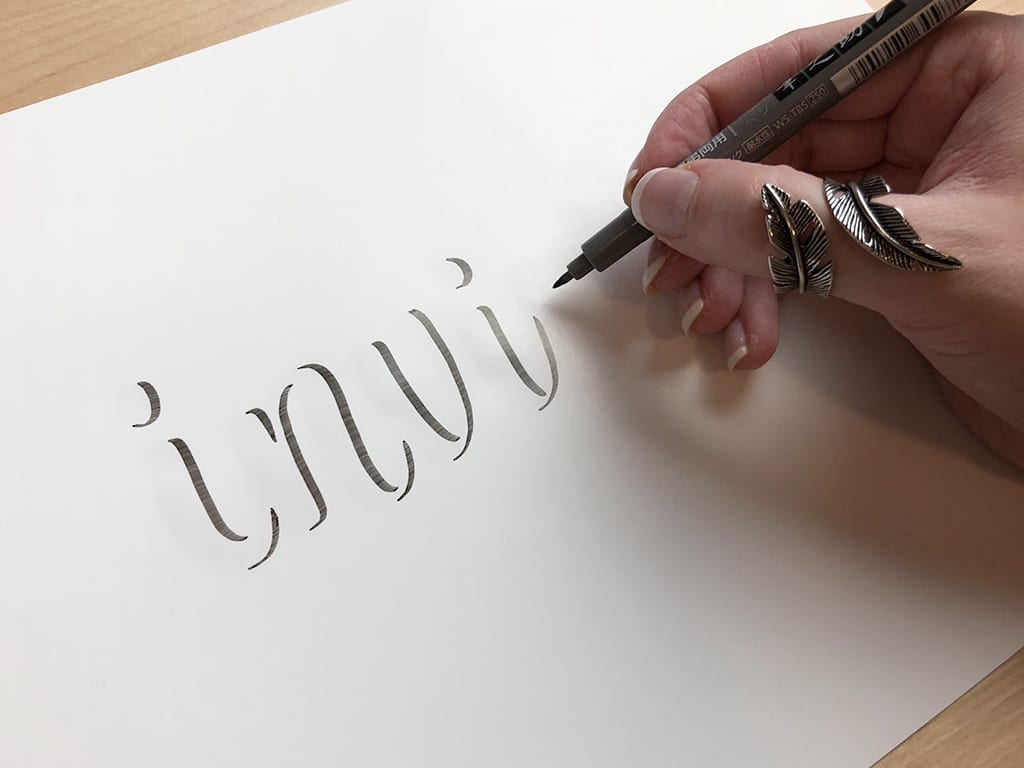
Using your shading brush pen, carefully create the shading of your lettering design, using the underlying sheet and base layer design as your guide. Apply shading consistently to create depth and the illusion of invisible lettering. Feel free to experiment with different shading techniques, such as monoline strokes or varying brush pressures, to achieve your desired type of shading.

Tip: The key to success is to keep your shading consistent!

Part way creating the shading of the word on the new sheet of paper
Using your base lettering as a guide, create the shading.

Step 5: Final Result

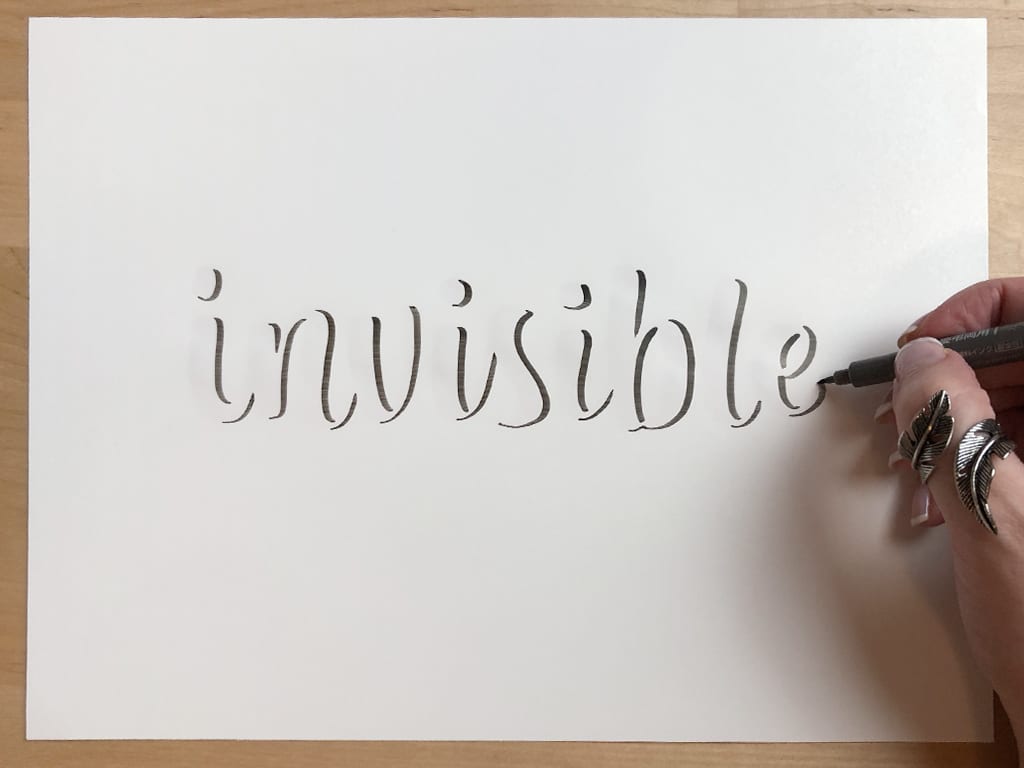
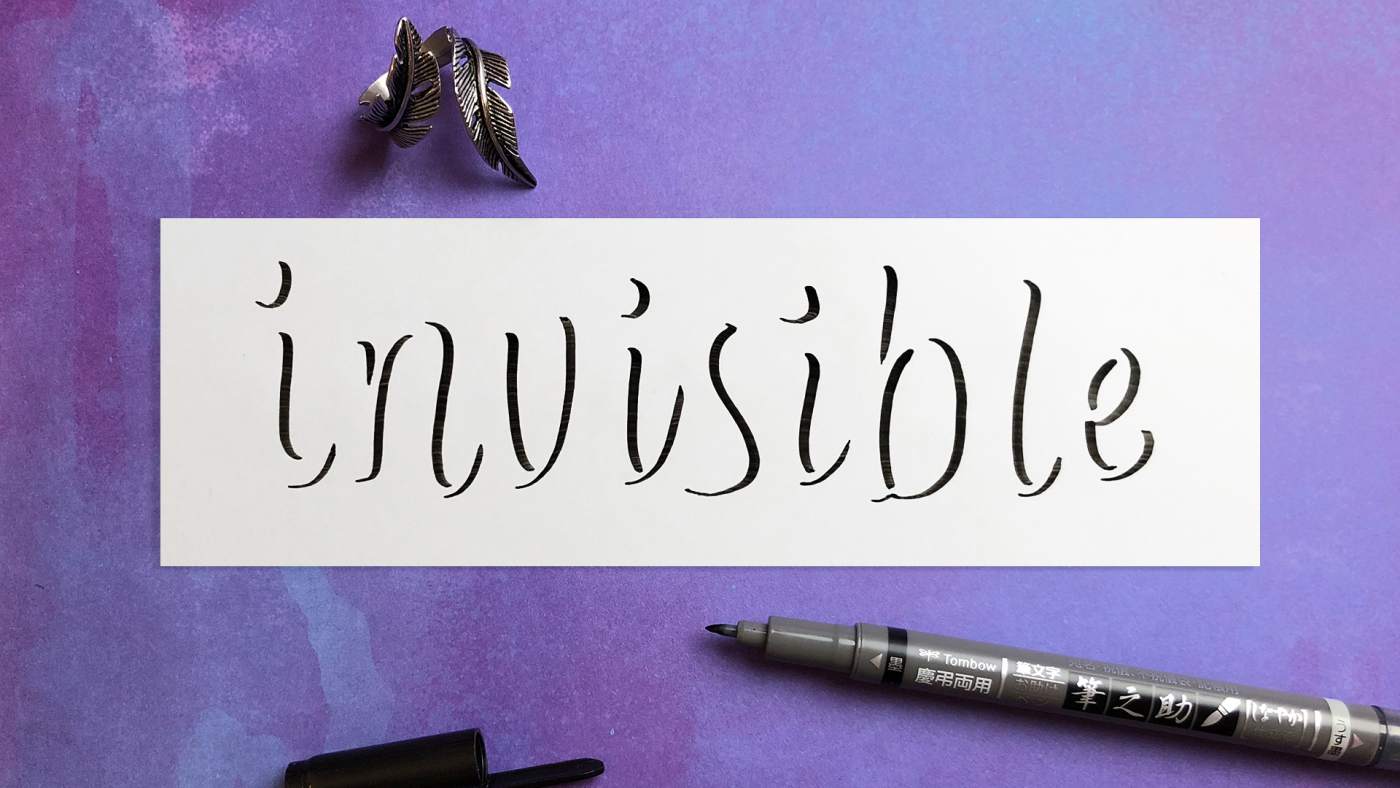
Once you’ve completed the shading, you can remove the base layer and you now have your invisible lettering design. The shading will highlight the shape of your letters, creating a subtle and artistic effect that appears to float on the paper.

The final result with the lettering written with shading only
Final result: "Invisible lettering".

Additional Tips

Enhance your invisible lettering technique with these additional tips:

  • Freehand Shading: With practice you can try to create invisible lettering freehand! It might look challenging, but with practice almost anything is possible. Keep your letter shapes simple and stay consistent!

  • Freehand with Guide: If you prefer, you can try to freehand the shading effect while using a guide as a reference. Create the lettering design – like we did in step 2 – and keep it near you as a guide to look at while freehanding the shading.

  • Lightboard Assistance: Instead of straining your eyes, or limiting your paper options to translucent papers, I strongly recommend using a lightboard A flat, illuminated surface used by lettering artists for tracing and layering work. Learn more . A lightboard can be invaluable for seeing through layers of paper, making the shading process easier and more precise.

  • Pencil Guidelines: Instead of using layers of paper, you can use light pencil guidelines to help before shading your design. Be careful when erasing the sketch lines afterward to not ruin or smear your lettering art.

  • Ruler Guides: Utilize a ruler, or the Guide Maker Tool to make lettering guides to help you keep the consistency of your lettering.

Conclusion

Invisible lettering is a unique and eye-catching technique that adds depth and intrigue to your brush lettering projects. By following this step-by-step guide and experimenting with different shading methods, you can create stunning invisible lettering pieces that stand out. Remember, practice makes perfect—don’t be afraid to try different styles and tools to find what works best for you. Happy lettering!

Changelog

  • Oct 3, 2018: Originally published
  • Sep 16, 2024: Updated with improved explanations and tips