How To Guides
Get started with Dip Pens

Dec
I made this short article to help you get started using your dip pen and nibs. Please don’t hesitate to ask if you still have unanswered questions.
Straight VS Oblique
There are two types of pen holders, the straight and the oblique. Which one to use is mostly just a matter of personal preference. Some would suggest you use the straight holder for upright calligraphy while using the oblique holder for slanted calligraphy. However, it really does not matter as you can turn the paper and write with either.
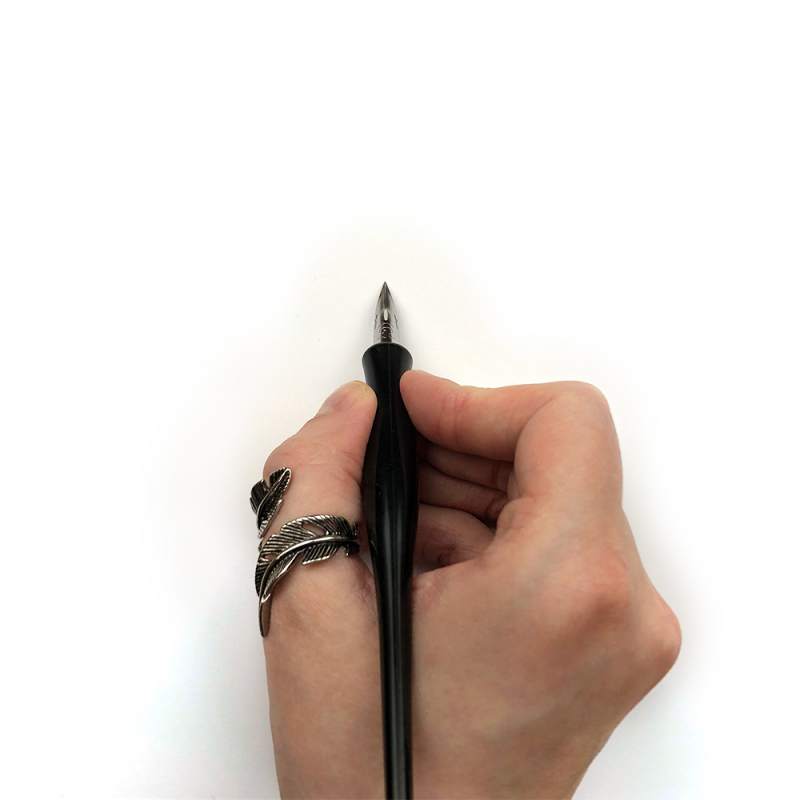
Straight Pen Holder:
Hold the straight pen holder upright, with the nib pointing at 12 o’clock and the pen resting towards your hand at 6 o’clock. Most pen holders have a slight curve where your fingers should be placed.
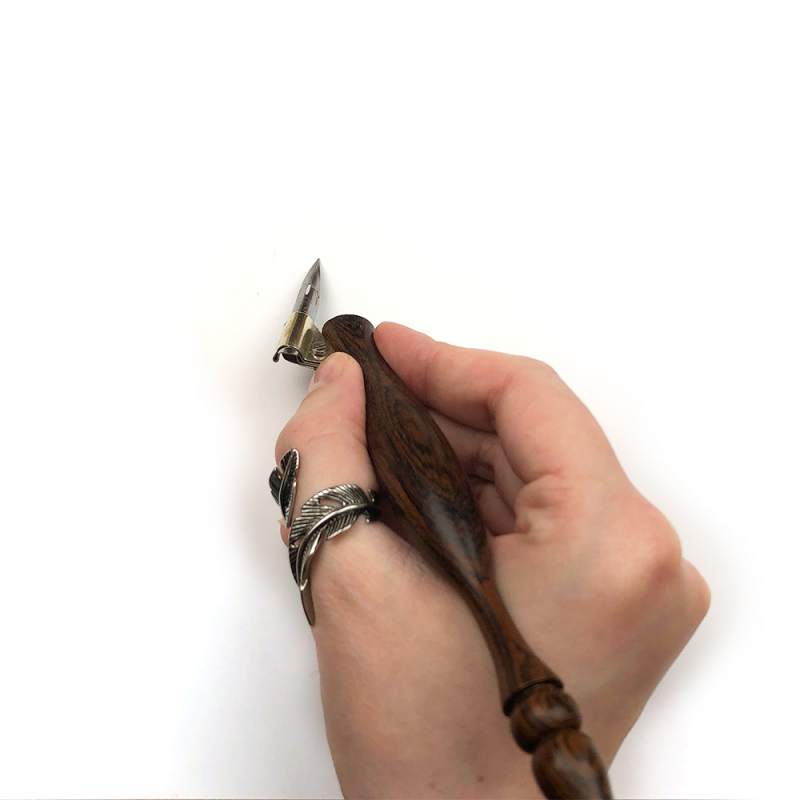
Oblique Pen Holder:
Hold the oblique pen holder at a slant roughly towards 5 o’clock and with the nib pointing to 1 o’clock. Most pen holders have a slight curve where your fingers should be placed.
My preference
It’s my personal preference to use Oblique Pen Holders, but I know skilled Dip Pen Calligraphers who prefer straight holders as well. Ideally I suggest you give both types some testing before you settle.
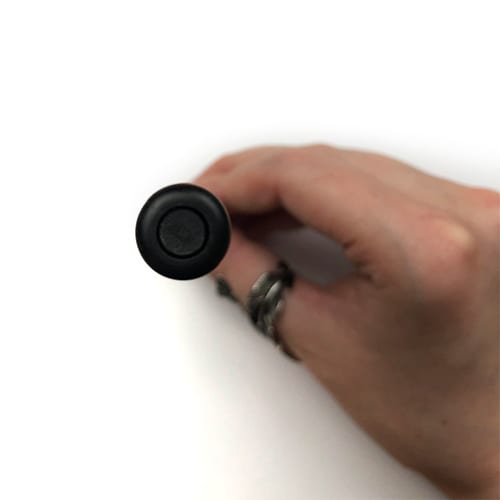
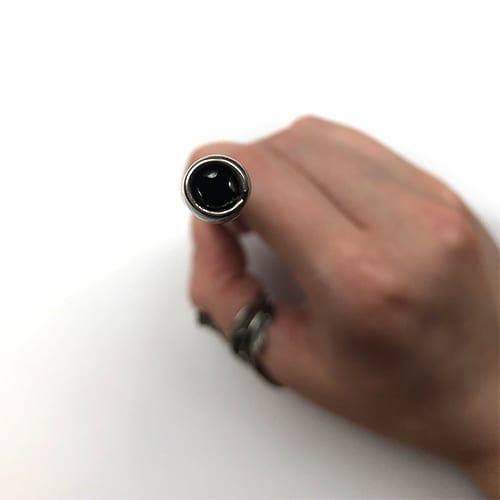
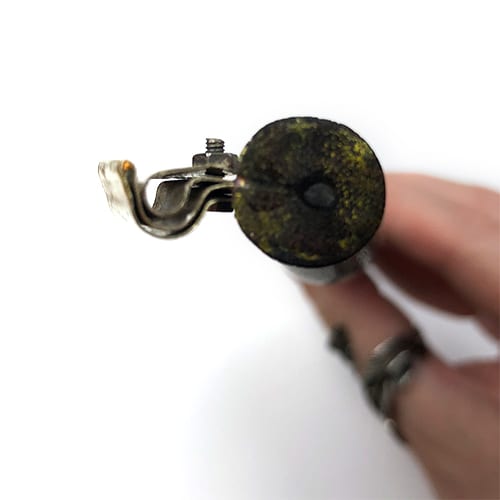
The Dip Pen Holders come with a variety of designs for inserting the nibs. Above are the three most common.
Different Nibs
Nibs come in all sorts of sizes and variations. They have different shapes, flexibility and are made of different materials. Which nib you should use depends greatly on the intended use.
To make it a little easier, here are three main categories of nibs:
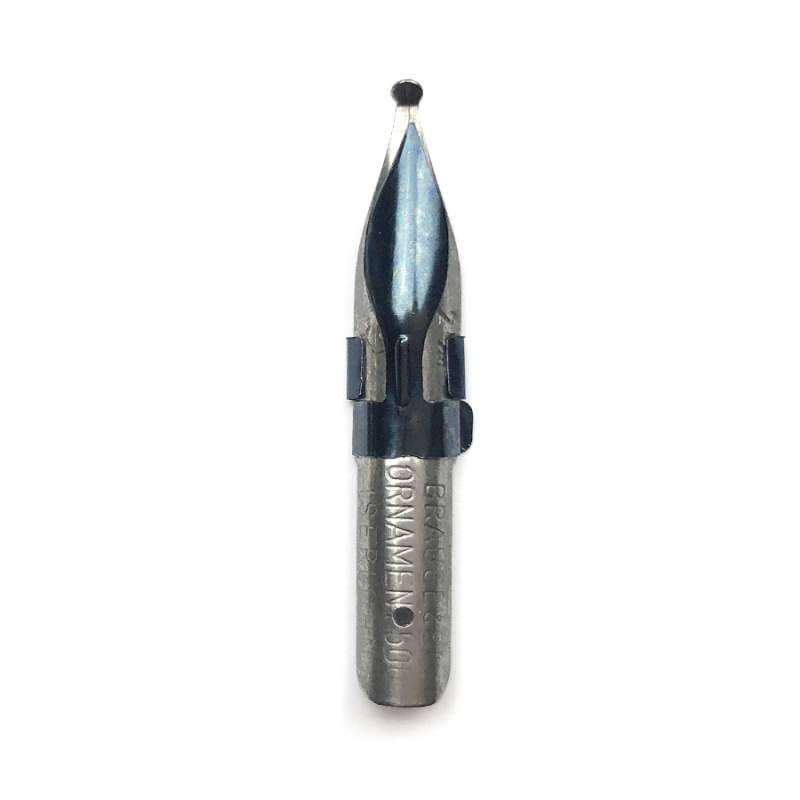
Round Nib:
The round nibs are the closest to a regular bullet pen when it comes to the stroke. The strokes are round, smooth and they are fairly easy to use.
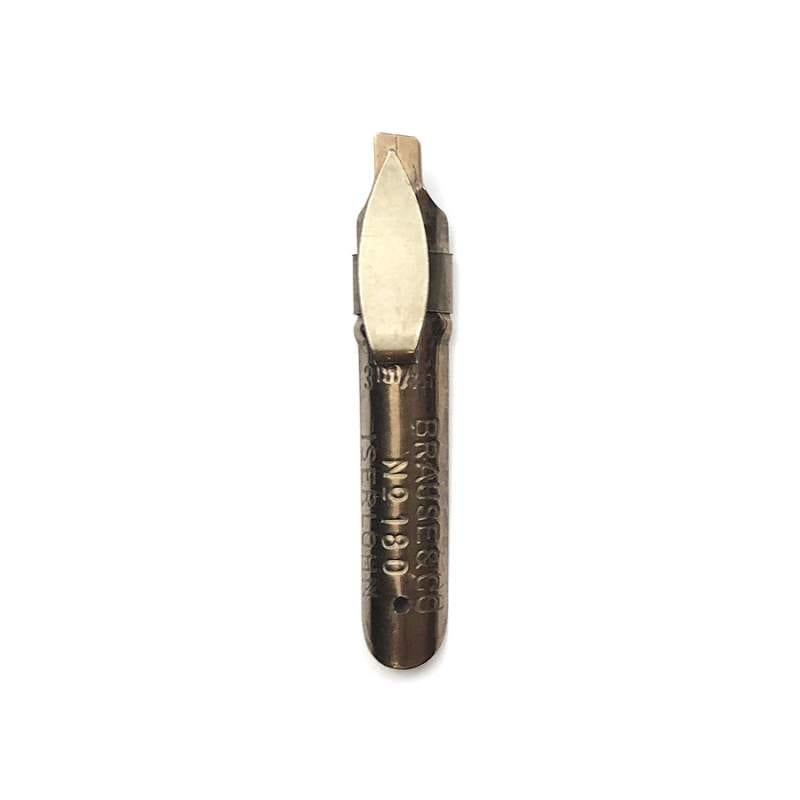
Flat Nib:
Flat nibs are commonly used for traditional calligraphy scripts. You’ll get different stroke weights depending on the angle of the stroke.
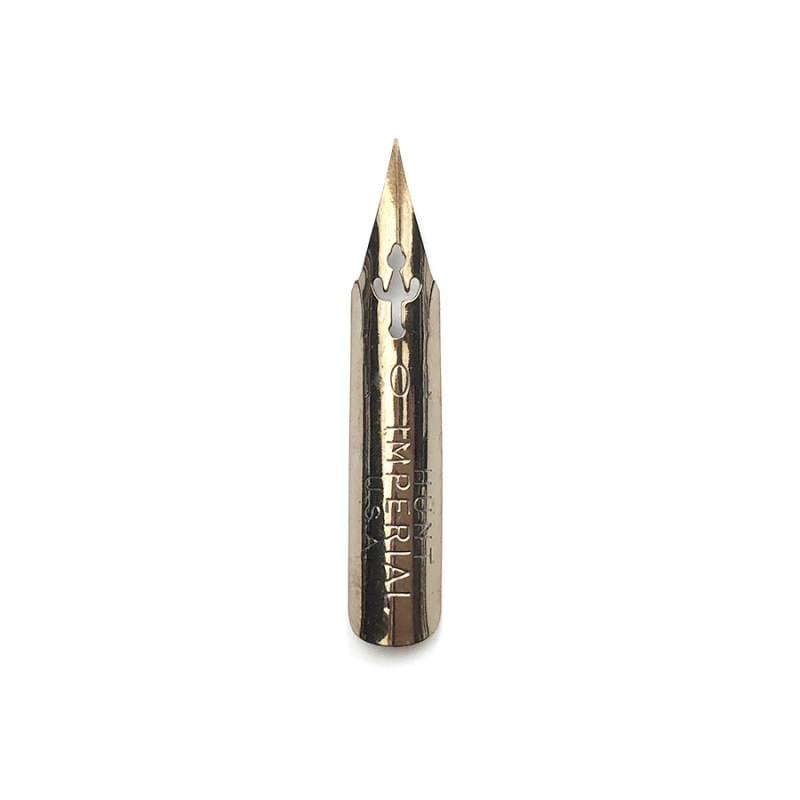
Flexible Nib:
The flexible nibs are arguably the most difficult nib to learn to use. With light pressure, you get thin strokes and with heavy pressure, your strokes will be thick.
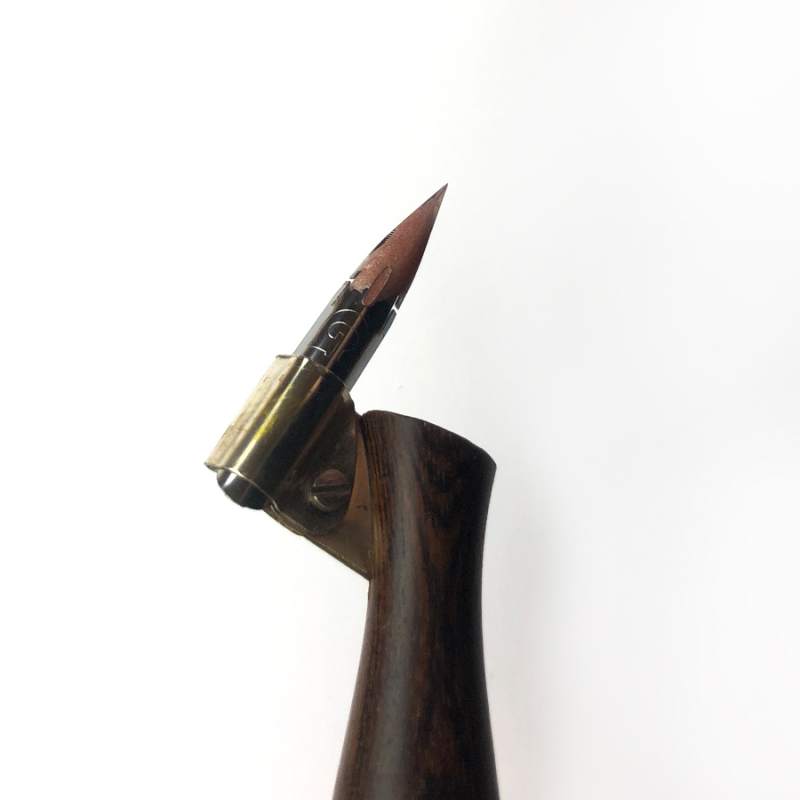
Ink Reservoir
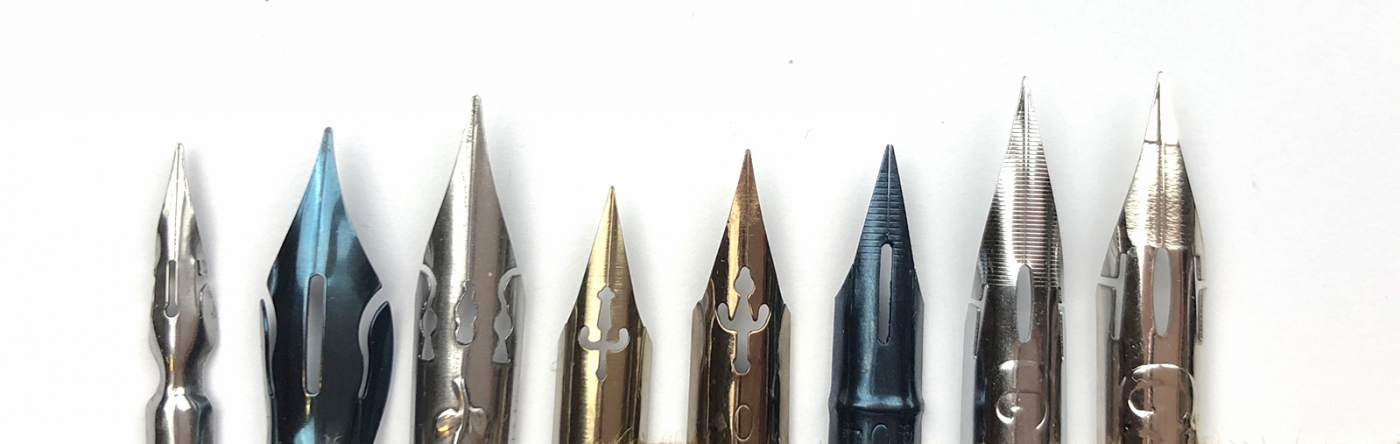
Nibs can come with or without reservoirs. The reservoirs are designed to hold more ink and therefore need to be refilled less often. There are several different designs for reservoirs as well. They can be attached to the front or back of the nib, or even both!
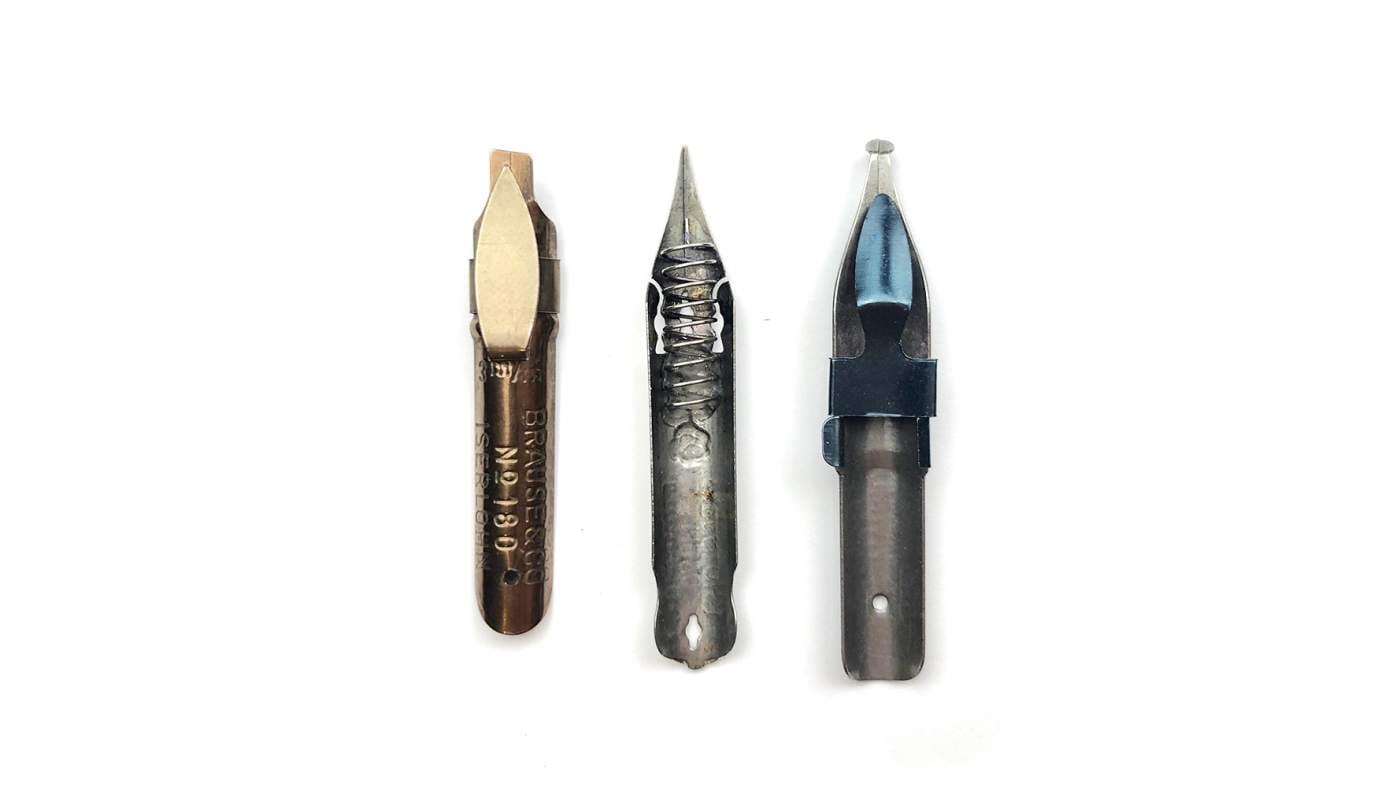
Above: Various nibs with different reservoirs.
Preparing the Nib
A brand new nib will have a protective coating on it so you have to prepare the nib before you use it! There are several ways of preparing the nib to get rid of the coating, these are the two ways I usually use.
Using Toothpaste
You can use a little toothpaste and rub it on your nib to get rid of the protective coating. Just let the toothpaste have a moment to work on the nib before you rinse it clean and dry it.
Using a Potato
The fastest and less messy way is to put the nib (pointy end down) into a potato! It just needs a few minutes in the potato to get the coat off. Take out the nib, run it under water to rinse and dry it.
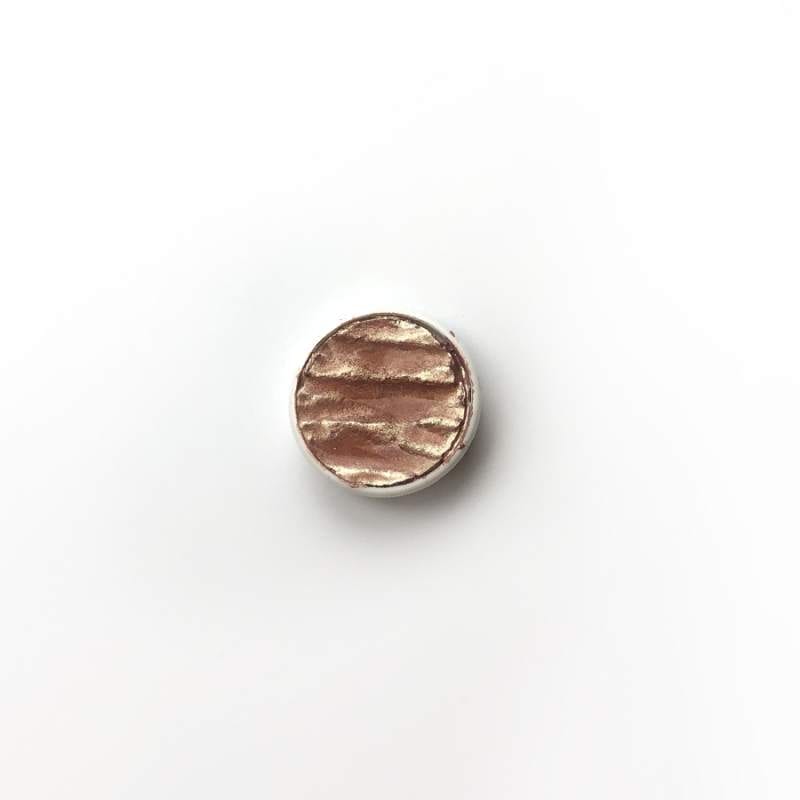
Using Watercolor Pans with Dip Pens
While using liquid watercolor or ink is fast and convenient, you can also use watercolor pans that are not liquid.

If you have a watercolor pan and want to use it with your nib you’ll need a brush and some water.
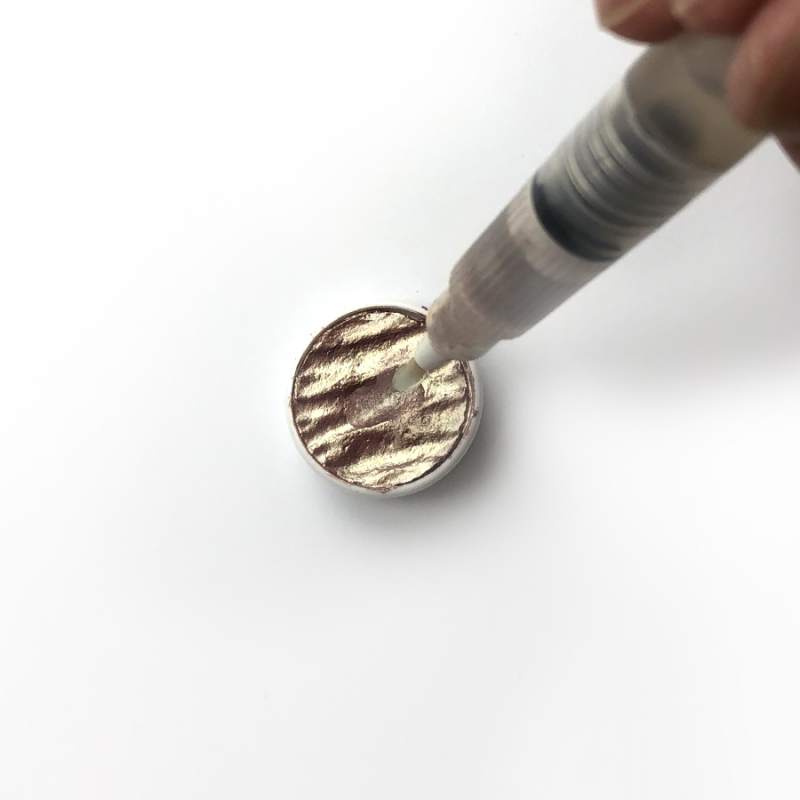
With a brush or a pipette, drip some water on top of the pan.
Let the water work for a minute or two, making the color moist on the surface.
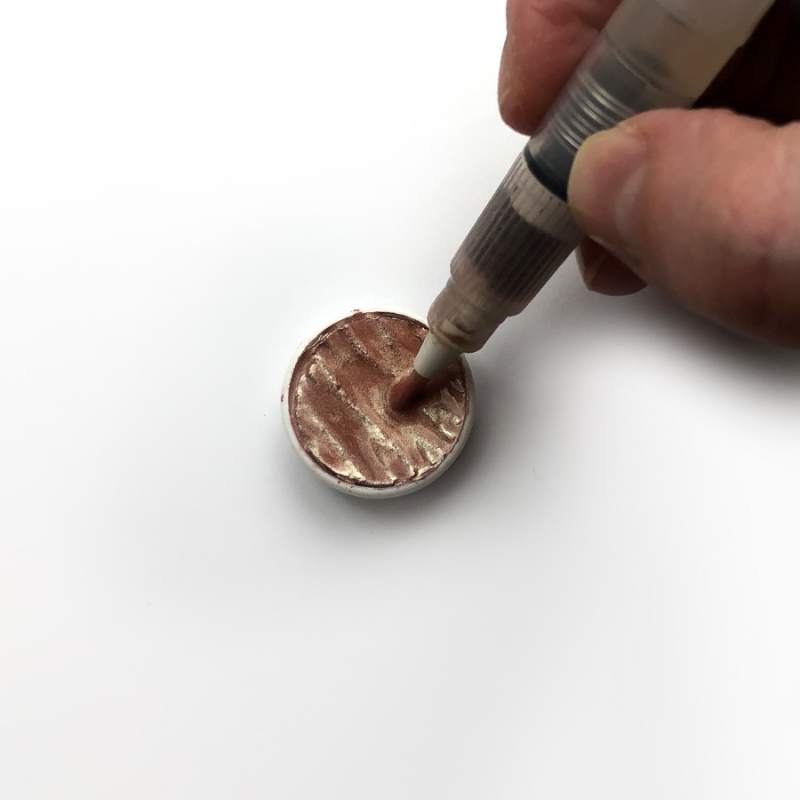
With a brush mix the water and the color. Add more water if you need. The trick here is to get the right amount of water.
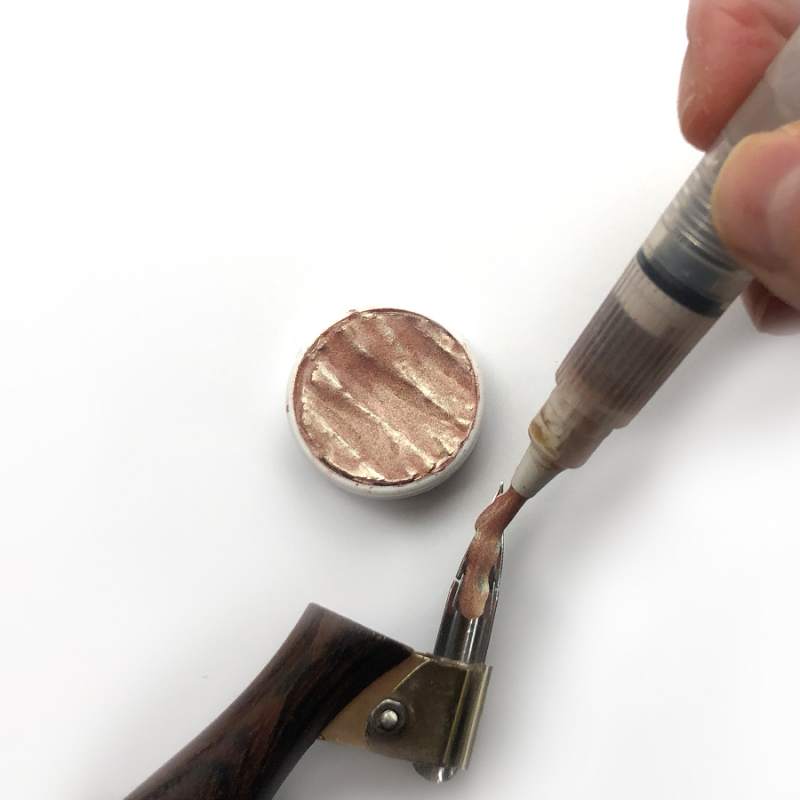
Use the brush to apply the color to your nib. I apply it to both sides of the nib because it lasts longer and flows better that way.
With the color on your nib, you are ready to start writing! While it is a more time-consuming process, there are some beautiful colors only available in pans. In the end it is worth it!

This was very helpful in learning how to load a nib with watercolor! The writing is very clear and the diagrams are extremely helpful!
I am so happy that you found it helpful, Riley! Thank you ????